Pictures soon.
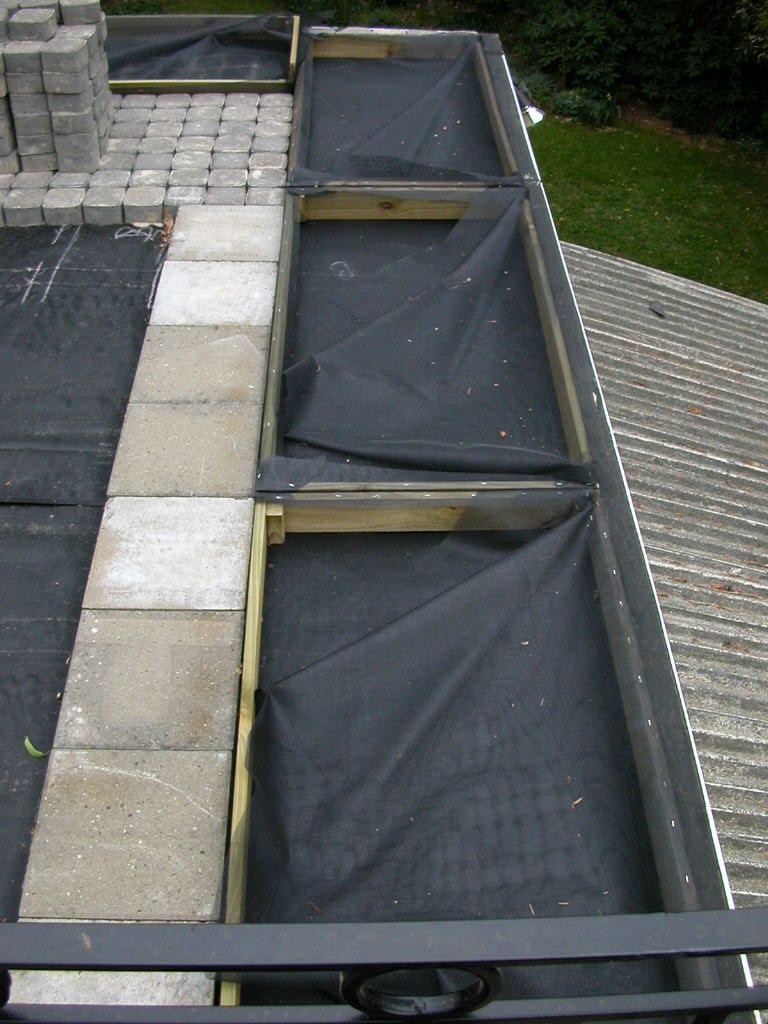
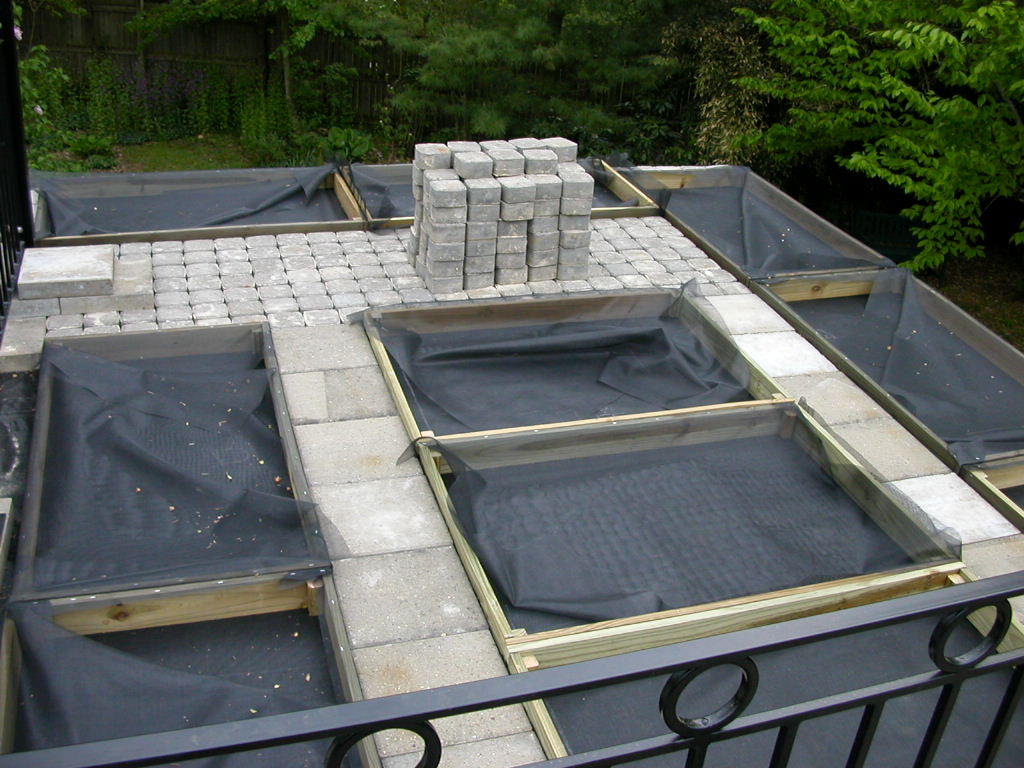
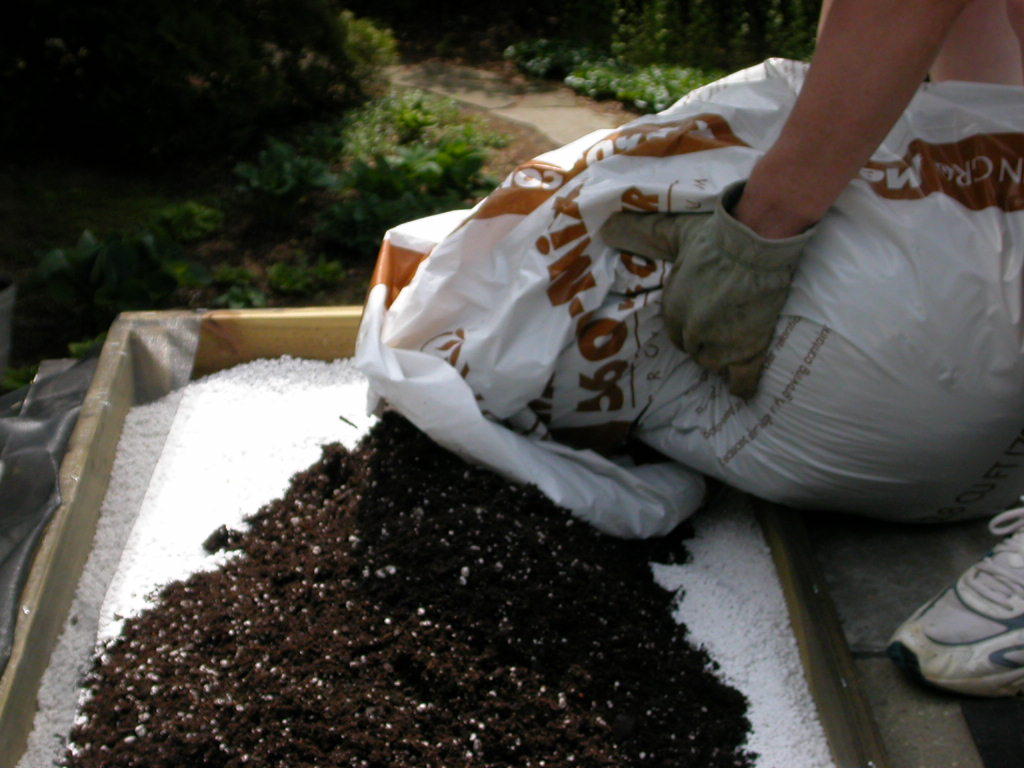
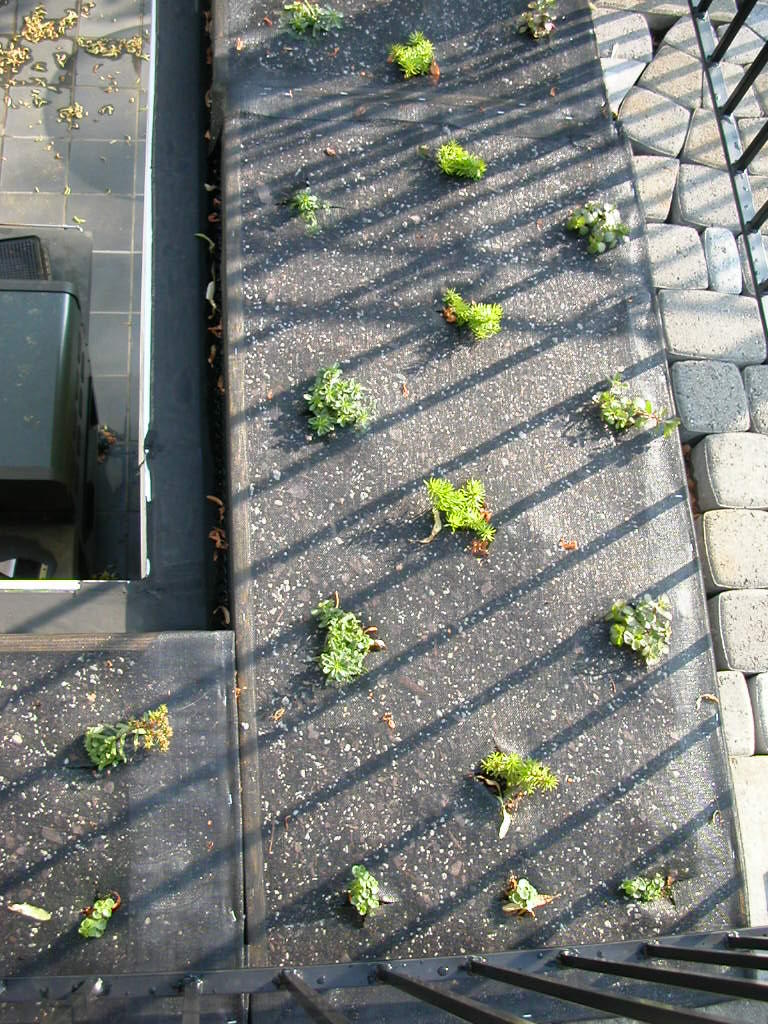
The green roof remains at about 80% complete. We need to build another 6 or 7 boxes, but have run out of planting mix. That delivery should occur next week.
The sedums and sempervivums have been planted and are looking very happy. These are the plants that are currently in place:
--- Sedum spurium 'Dragon's Blood'
--- S. spurium 'John Creech'
--- S. spurium 'Leningrad White'
--- S. kamschaticum 'Weistephaner Gold'
--- S. rupestre 'Angelina'
--- S. tetractinum
--- S. ussuriense
I've also got three or four other dark-leaved forms of more-or-less creeping sedums --- and all demonstrated to be winter-hardy --- mixed in. I've got a handful of other sedum species which I will trial in some of the beds, but the species above represent >90% of what we installed. I've also got an extensive wish list of both sedums and semps to try out on my green roof, but these species will be the anchors.
The sempervivums are not named cultivars, at least not in my hands. There are two large-ish green forms, one of which has red leaf tips. There is a large purple leaf form. And there is a medium-green, hairy, flat form. These are clustered in the beds, and should mound a bit to give some textural contrast to the groundcover of mostly sedums.
Addresses and links to the places where we mail-ordered the sedums are to the right.
Plant spacing in the beds is about 12" apart in all directions. We expect these species/varieties to take two seasons to fill in at this spacing, but it is already clear that the installed plants are happy. Growth and expansion have already begun to occur.
In the fall, we will plant some crocus species and a few miniature daffodils across the green roof. No idea if this will work, but the roof warms up early thanks to its exposure. It would be nice to get some really early color out there.
I've also got a reportedly sterile form of chives (
Richter's 'Profusion') in the herb garden. If it is truly sterile (no seedlings!), I will do a test planting on the green roof, too. The texture, height and color of the chives foliage would be attractive, as would the flowering. And a sterile plant should bloom more-or-less continuously. The plant does appear to make pollen, however.
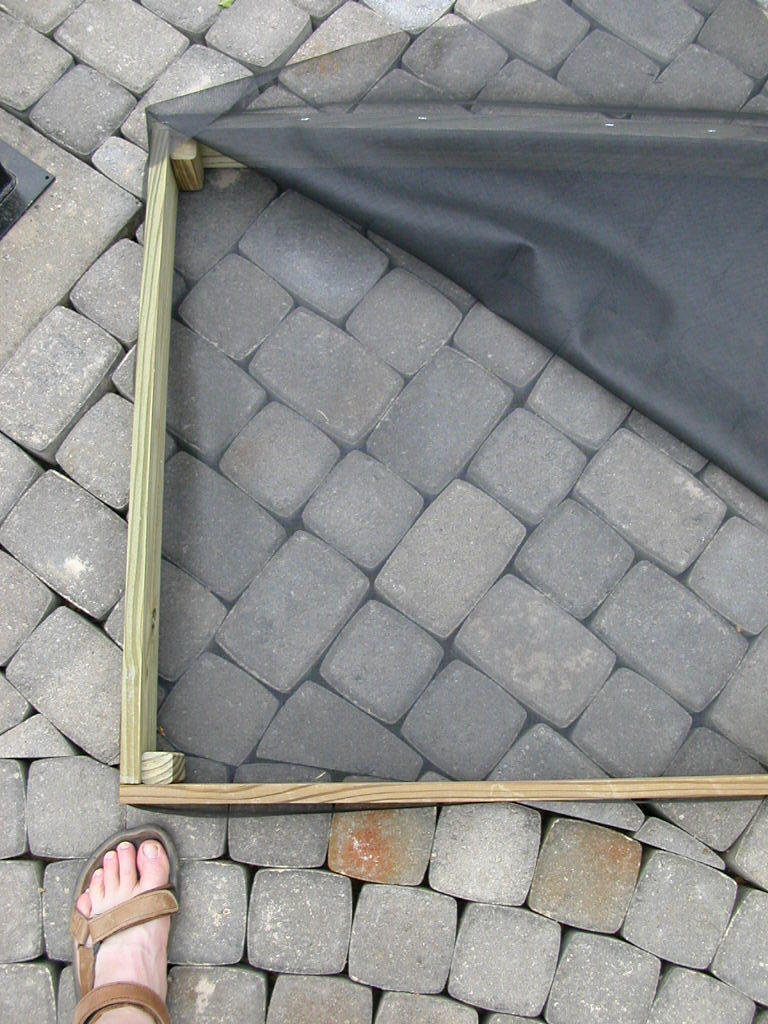
We have recently had some strong thunderstorms and associated downpours of rain. The very good news is that the green roof system we installed seems to be working. The beds are not splashing out planting mix --- the screening on top is working. Similarly, there is virtually ZERO migration of the planting mix or the perlite out of the boxes or through the drainage mat. The water dripping from the roof into the guttering is completely clear.
The pavers appear to be draining and drying out much faster with this system than with the old sand-filled system. No, we have not filled the cracks and crevices with fine sand. We may not do that at all. The boxes are forming a tight enough framework for the pavers that there may be no structural need for the sand as a surface binder. Yes, we expect dirt and seeds to end up between the pavers. That happened with the sand in the old system, too.
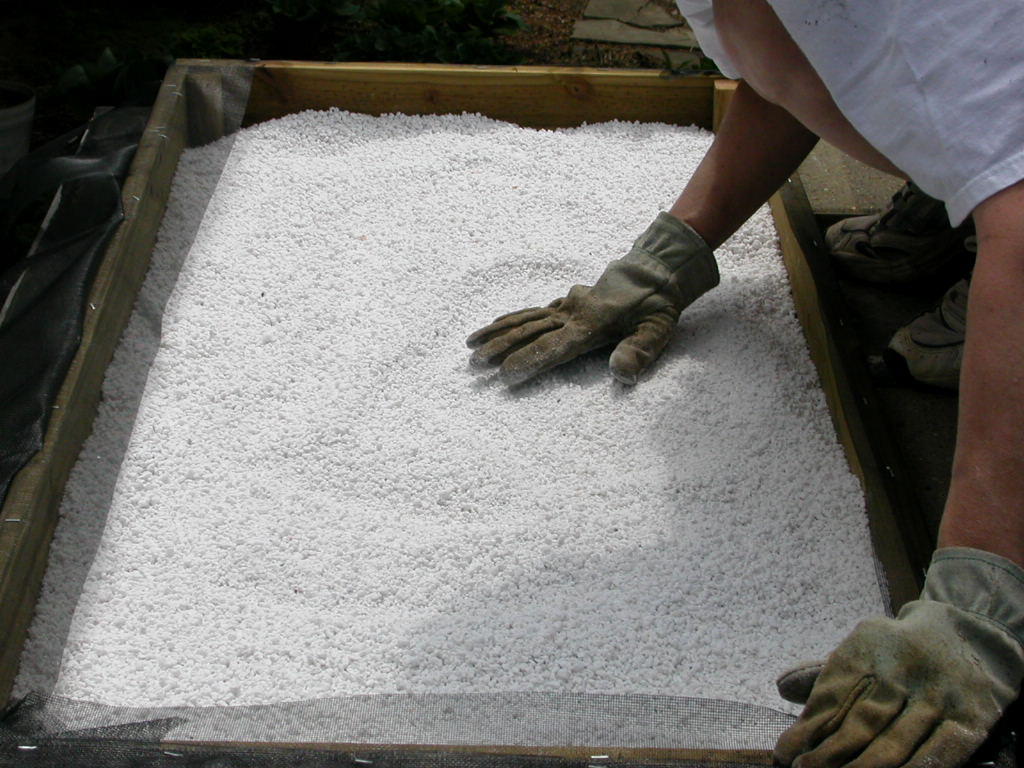
We thought about filling with vermiculite or perlite. Both would blow around when thoroughly dried out, and the green roof is in full sun. It will indeed dry out during July and August in our Northeastern US climate. We may eventually end up binding the pavers together with fine sand. Without the drainage mat, a significant amount of sand washed through the pavers and into the gutter. This may not happen with the drainage mat in place, but the sand did retain water and helped to create a lot of moss and algae on the old roof garden. We're hoping to avoid that with the new green roof.